OVMF/UEFI Boot Entries
Introduction
If a VM boots via OVMF (UEFI[1]), the firmware has to know which bootloader it has to start from the ESP[2].
When no boot entries exist in the EFIVARS store, it tries to load the fallback $ESP/EFI/BOOT/BOOTX64.efi loader. Should that also fail, the VM gets booted into the EFI Shell
Add a Boot Option
Short How-To
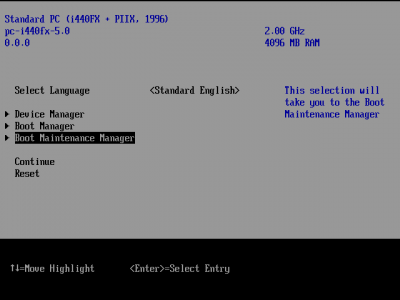
- Start-up the VM and press ESC to get into the OVMF menu.
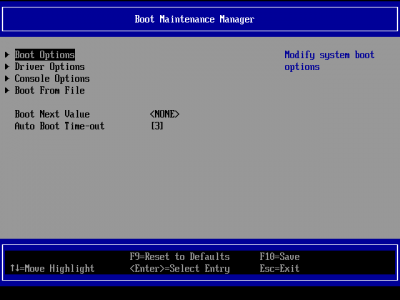
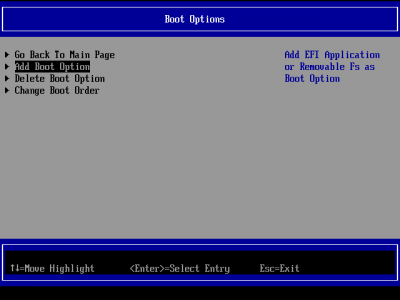
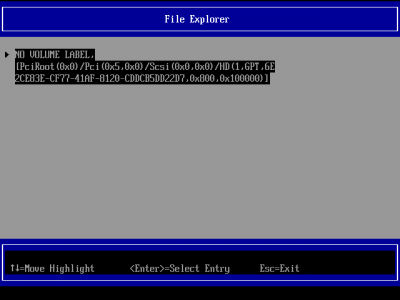
- Then "Boot Maintenance Manager" -> "Boot Options" -> "Add Boot Option" -> choose Disk with the Efi System Partition.
- Now find the EFI executable, for example for Debian:
EFI/debian/grubx64.efior for Fedora:EFI/fedora/shimx64-fedora.efi. - Name it ("Input the description") and "Commit Change"
- Use "Change Boot Order" to order the new entry to the top.
Detailed How-To
To add an entry of an existing bootloader go into the OVMF Menu by pressing 'ESC' during boot. Then select 'Boot Maintenance Manager':
Select 'Boot Options':
Select 'Add Boot Option':
Choose the Hard Drive with the ESP:
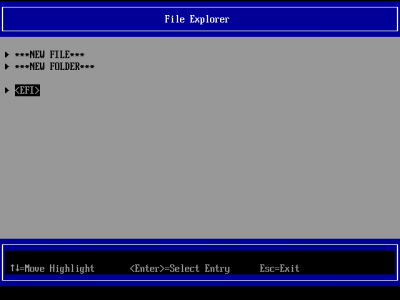
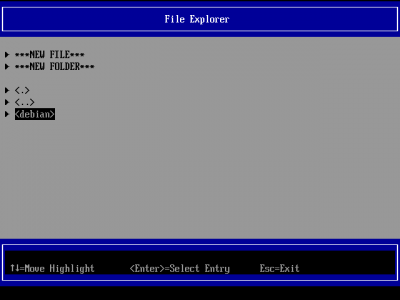
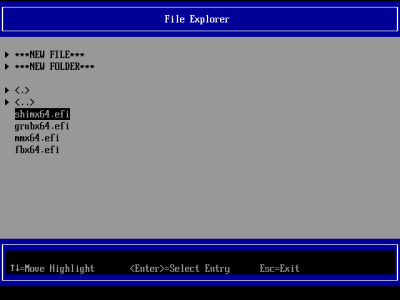
Navigate the folder structure to your bootloader (EFI/debian/shimx64.efi in this example)
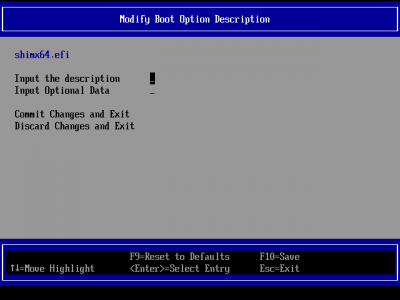
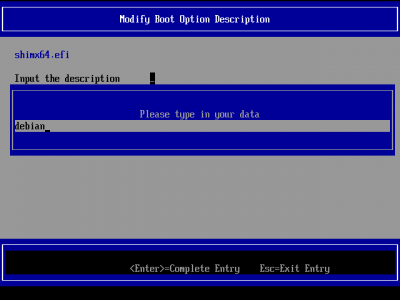
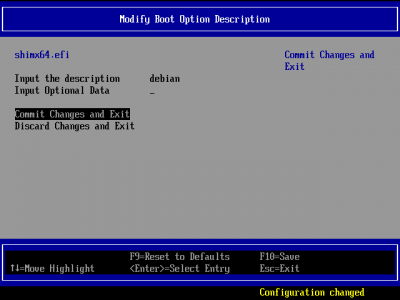
After that, enter a name and commit:
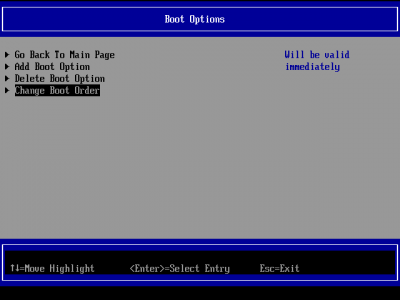
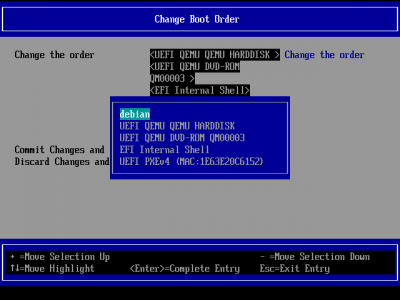
To make it the default boot entry, you now have to change the boot order:
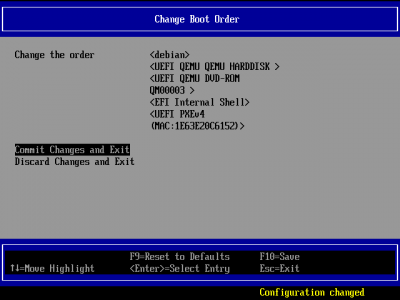
Press enter, select the boot entry with the arrow keys and move it up and down with '+' and '-' respectively. Then press enter again and commit your changes:
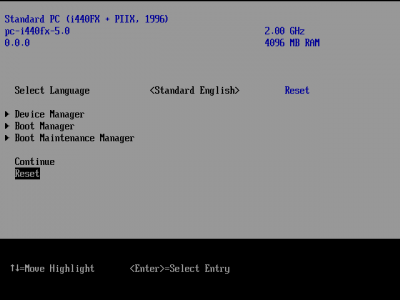
The last step is to reset the VM via OVMF, after that it should boot using the just configured boot entry.
